Early this year—at a point when this still seemed like a large personal loss—I learned that Moleskine had stopped making its pocket-size music notebooks, on which my creative process has depended for most of my adult life. (They do still offer a bigger music notebook, but one, it won't fit in an evening bag, and two, my songwriting process seems to need the smaller pages. There are a lot of false starts in songwriting, and I don't like taking up a whole big page just to write what may not come to more than a couple of lines.)
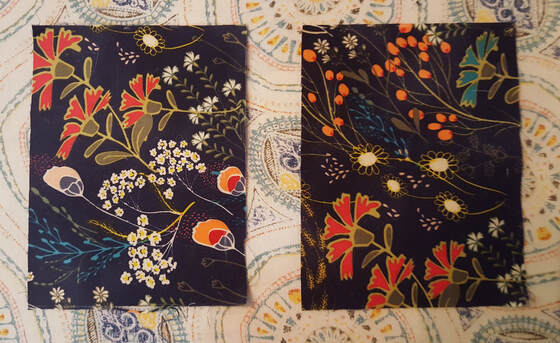
The closest replacement I could find was this Roterfaden model, with a dot grid on the verso and staff paper on the recto. The red stamp on the front was nicely old-school, and the pages were the right size. But it did not have a cover. This was a problem: any notebook of mine is going to be carried around, smushed, beat up, and eventually used as a coaster. Roterfaden sells very nice customizable leather covers, but they are well beyond my budget.
So! I made my own. Here's the process, for anyone who might want to try it. This makes a flexible, tough cover, similar to oilskin. You could incorporate board for a true hardcover, but I think you'd have to do that with library paste rather than sewing.
From some past sewing projects, I already had decent-sized scraps of cork fabric, lining, ribbon for the bookmark, and quarter-inch elastic for the strap. (To make masks this spring, I had to buy 50 damn yards of elastic; all smaller quantities were sold out. I have half a football field of black elastic. Hit me up if you need some.)
Roterfaden's custom bindings include a metal clip that attaches the notebook to the cover and lets you replace the inner pages as needed. After a bit of time perusing r/notebooks, I determined that the best option was probably a wallet clip. So I ordered that from a craft supply shop, and it was the only thing I had to buy new.
I cut front and back pockets from the lining fabric. Each was 12 cm x 16 cm. Mistake #1: they should have been slightly narrower. (This fabric and the cork cover are both from the delightful Oak Fabrics, btw.)
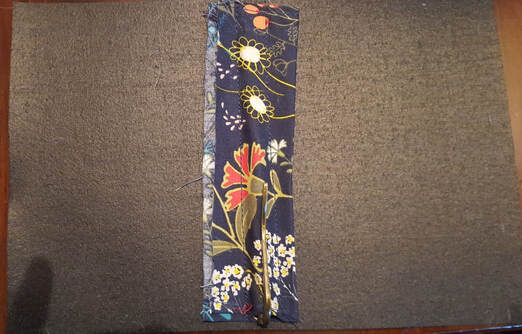
I pressed and hemmed the pockets around all four edges. Next, I hand-stitched the long spring side of the wallet clip to a rectangle of lining to make the spine. Mistake #2: the spring is shorter than the spine, and that means the notebook sits a little crooked in the finished cover. I should have put piping or a pipe cleaner in the top bit of the spine to even things out.
I folded the rectangle over and stitched it to the inside of the cork to set the spine. The clip adds a lot of height to the fabric, so to stitch alongside it, you have to use a zipper foot. Mistake #2.5: I very clearly didn't get the fabric straight here. (At this point I had already had to push away Arthur multiple times, and I just wanted to finish before he succeeded in his baffling but constant goal of eating thread.)
I folded the rectangle over and stitched it to the inside of the cork to set the spine. The clip adds a lot of height to the fabric, so to stitch alongside it, you have to use a zipper foot. Mistake #2.5: I very clearly didn't get the fabric straight here. (At this point I had already had to push away Arthur multiple times, and I just wanted to finish before he succeeded in his baffling but constant goal of eating thread.)
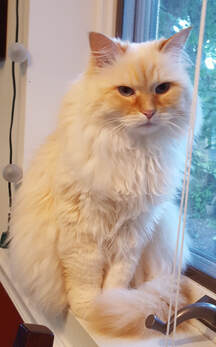
Portrait of an unrepentant thread-eater, banished to the windowsill:
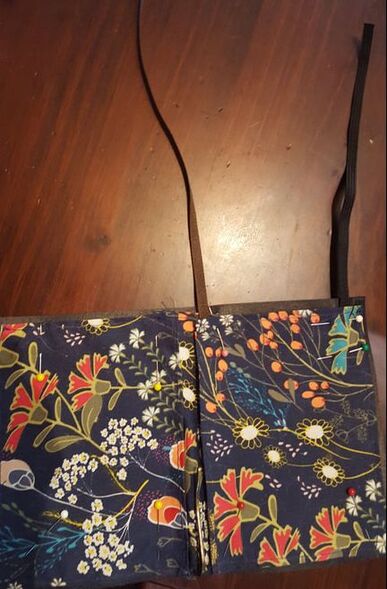
Next step was to set the pockets, the bookmark (brown), and the elastic strap (black). Here's the pinned assembly. Since the elastic strap is a loop, you have to leave a gap in the bottom seam. After sewing the rest of the edges, hand-stitch the bottom of the strap into place. (There may be a different way to do that, but I am not an experienced enough sewist to figure it out.)
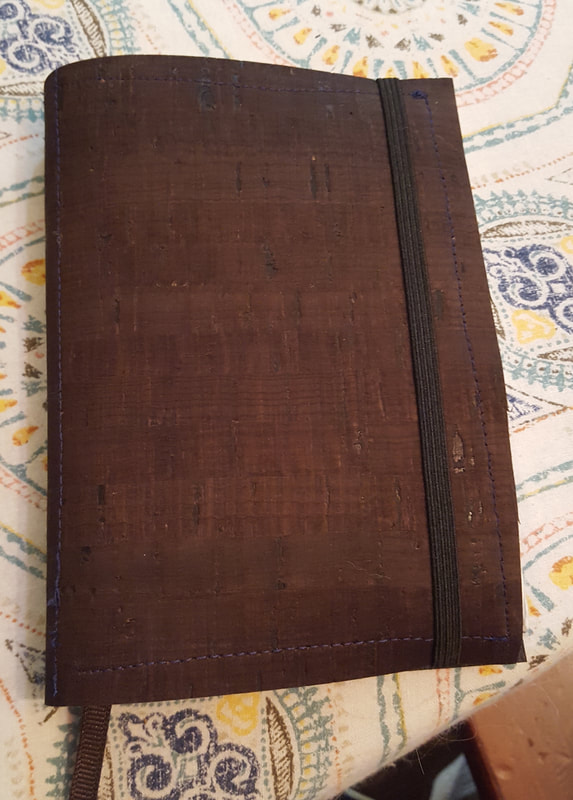
And that's it! Not a moment too soon, as I have already inflicted some damage on the front paper. This isn't a shining bit of perfect precious workmanship, but it does the main job and looks kind of nice. And now I know how to do it again, should the need arise.

 RSS Feed